The Enroll History report provides you with a list of students and the date each student was placed into the class, based on filters (Search Criteria) you select.
You can find this report in the Reports menu. Go to Reports > Classes/Enrollment > Recommended (tab) > Enroll History.
- Customize the list of student enrollments with several optional filters including: Enroll Date, Category, Session, and Current Student Status.
- Send an email to all, or only some, of the families directly from the report results.
If you use this report frequently, make it a Favorite Report for quick and easy access!
Business Scenario
You would like to see which students, who were enrolled in all sessions, are no longer active in your system. It’s time to send out your new session class list and would like to encourage them to sign up for new classes.
To create this report use these search filters:
- Enrolled in Session = All (leaving the field blank is the same as selecting all)
- Current Student Status = Inactive
The report results will include all students enrolled in all classes and are currently Inactive. Use the Email button in the report results to contact these student families to encourage them to sign up for another session.
Note: The Enrollment Detail Report can also be used for this business scenario and has more options.
Search Criteria
Filter your list of students using any or all of the available Search Criteria and Jackrabbit will compile a report of who meets ALL of the criteria chosen.

Report Results
The report results can be further customized with the ability to show or hide columns of information, sort columns, or modify column width.

- Email directly from the report results. Use the checkbox in the Email All column to select the contacts you would like to email. Click the Email button to open the Jackrabbit email editor and select an email template or create a new email message. A history of this email is kept in the Family record, Misc tab> View Sent Emails for 365 days.
- Click the Show/Hide Columns button, to select which columns of information you want displayed.
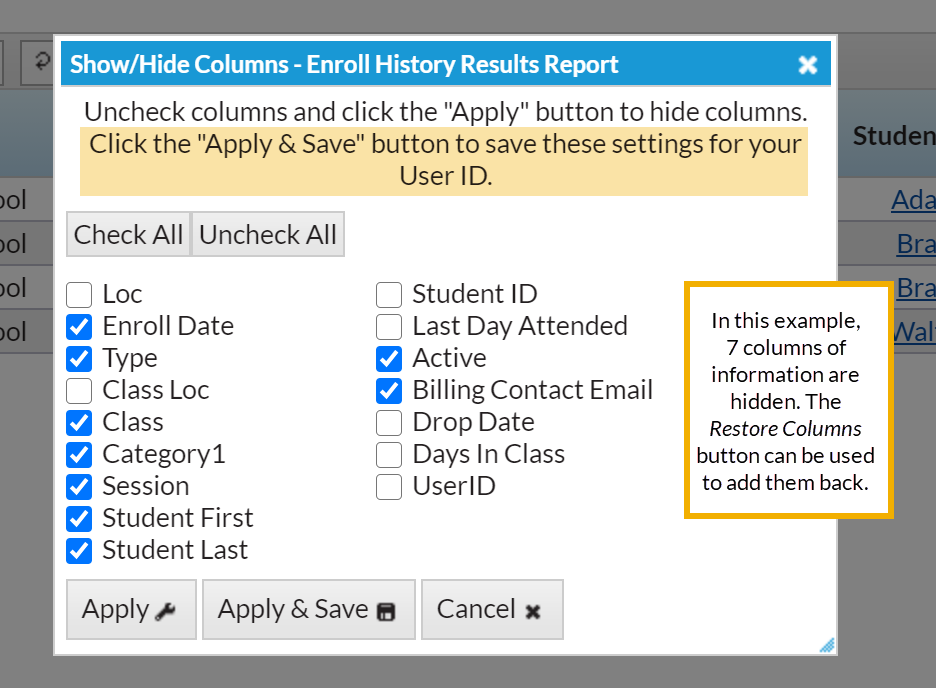
- Select Apply to have these selections applied to only the report you are currently viewing.
- Select Apply & Save to have these selections applied and saved for your User ID. When logged in as your User ID, you will see only the columns of information you chose previously. Other Users will see the columns they selected and saved, which may differ from yours.
